In this tutorial, we will show you a step-by-step guide on how to install Docker and Kubernetes for a React application. We will first create a Docker image of a React app, push it to a container registry and then deploy it locally using Kubernetes.
1. Create React App
Skip this step if you already have a running react app. Create react app by running the following command:

2. Set up Docker
ou can go to Docker website (https://www.docker.com) and download Docker for your operating system by following the installation wizard or instructions for your OS.
3. Dockerizing our React Application
You will need to navigate to your React application's root directory.
Create a Dockerfile in the root directory. This file will define how Docker builds your image.
Example Dockerfile:
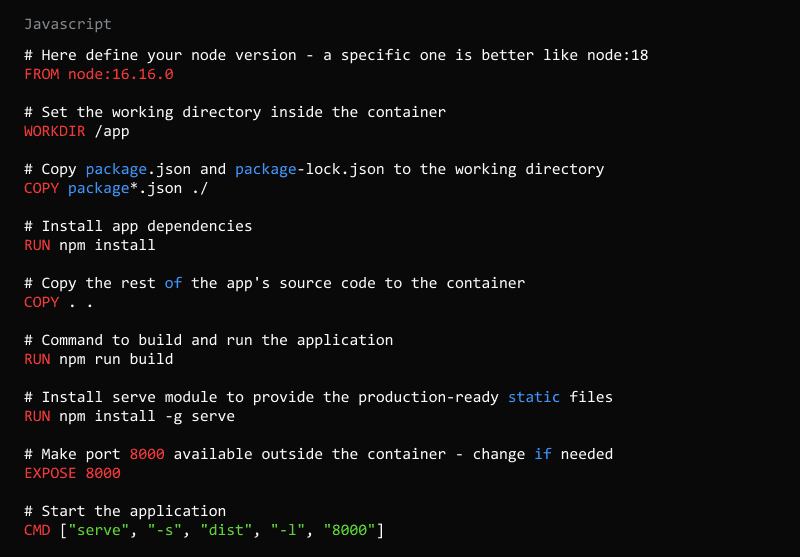
After creating the Dockerfile, we need to build the Docker image by running the following command in the terminal, where <image-name> is the name you want to give to your Docker image:

4.Setup Kubernetes
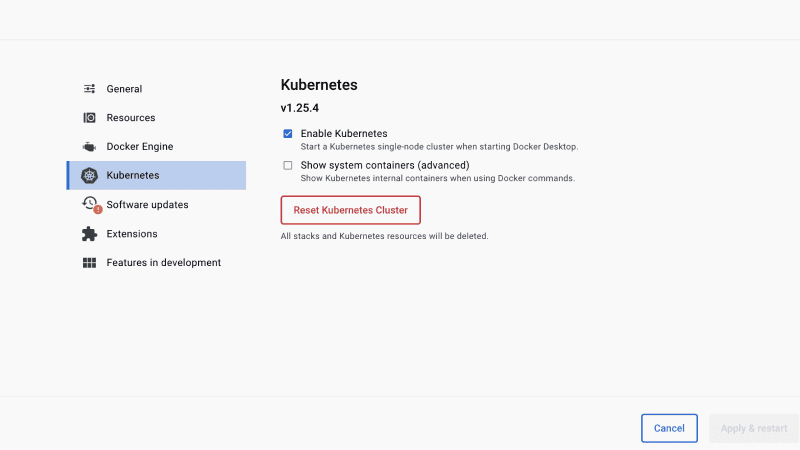
You can run Kubernetes locally with Docker Desktop.
Open Docker Desktop ? Preferences ? Kubernetes ? Enable Kubernetes ? Apply & Restart
This will take several minutes for docker to restart
5.Push the Docker Image to a Container Registry
If you don’t have a Docker account, head to their official website and create one.
Log in to your container registry using the following command:

Tag your Docker image with the registry URL and version:

Example:

Push the image to the container registry:

6.Creating a Deployment in Kubernetes
Create a Kubernetes deployment configuration file (e.g., deployment.yaml) with the following content:
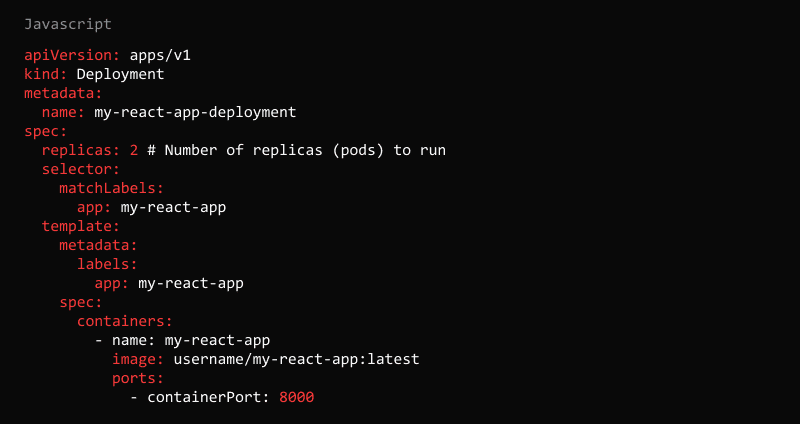

This command basically tells Kubernetes to create a Deployment based on the configuration details provided in the file created here.
7. Creating a Service in Kubernetes
We need then to create the service.yaml file contains the configuration for the Service.

We’re defining here that we want to have a load balancer service, so it won’t allow downtime while visiting the website.
To apply the file to our configuration, we can run:

After completing these steps, the React app should be running in a Docker container, accessible via Kubernetes service, and ready to scale as needed!
Run the following command that will create an an exposure where we can get the IP


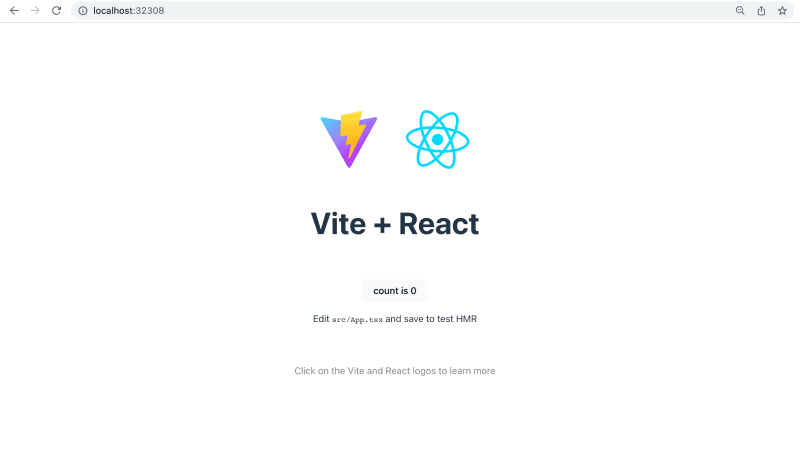
In this example, you can see that the service my-react-app-service has an EXTERNAL-IP of localhost and a PORT(S) mapping of 80:32308/TCP. This means that the service is accessible at localhost and port 32308 on your local machine (http://localhost:32308 from your browser).
Visit http://localhost:32000 and you will see your running React app
Hope you had fun!